
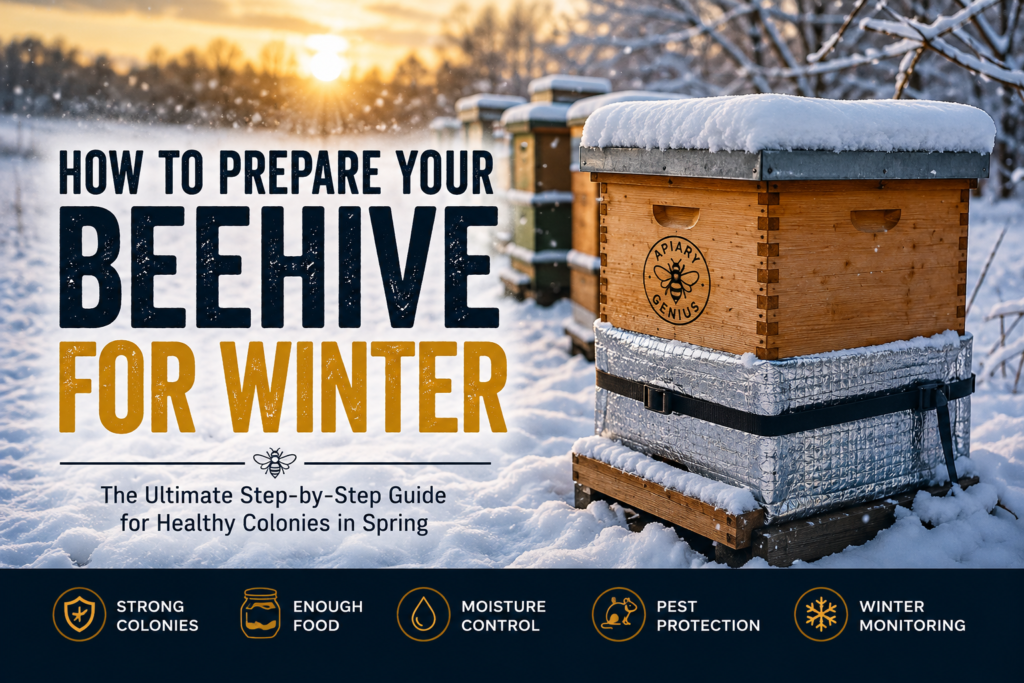
Winter is the single greatest threat a honeybee colony will face all year. More colonies are lost to poor winter preparation than to any predator, pest, or disease combined. The good news is that winter losses are largely preventable — a colony that goes into winter strong, well-fed, dry, and properly protected has an excellent chance of emerging healthy in spring. Learning how to prepare your beehive for winter properly is, without question, one of the most important skills a beekeeper can develop.
This guide walks through everything you need to know to prepare your beehive for winter: timing, colony assessment, feeding, pest treatment, hive configuration, moisture control, and the mistakes that cause even experienced beekeepers to lose colonies unnecessarily.
Table of Contents
Why You Need to Prepare Your Beehive for Winter
Bees don’t hibernate the way many people assume. Instead, worker bees form a tight winter cluster around the queen, vibrating their flight muscles to generate heat and rotating positions so no single bee stays on the cold outer edge too long. This cluster can maintain a core temperature well above freezing even when outside temperatures plummet far below zero — but only if the colony has three things: enough bees to form and maintain the cluster, enough stored food to fuel it through months with no forage, and a hive that protects them from wind, excess moisture, and pests.
If you skip proper preparation, a colony can fail in several distinct ways: starvation when stores run out before spring, freezing when the cluster becomes too small to hold heat, suffocation or mold from trapped moisture, or being weakened beyond recovery by mites and viruses that went untreated in fall. Every step in this guide exists to prevent one of these specific failure modes.
When to Prepare Your Beehive for Winter
Timing matters enormously. Winter preparation isn’t a single day’s task in late autumn — it’s a process that should begin roughly 8 to 10 weeks before your first expected hard frost. This gives the colony enough time to rear a healthy population of “winter bees” (a physiologically distinct generation of long-lived workers that will carry the colony through the cold months), build up adequate stores, and recover from any treatments you apply.
Beekeepers in colder northern climates typically begin preparations in late summer, while those in milder regions may not need to start seriously until early autumn. Whatever your climate, the key principle stays the same: you want major preparation work finished well before the cluster forms, not scrambled together after the first cold snap catches you off guard.
Step 1: Assess Colony Strength
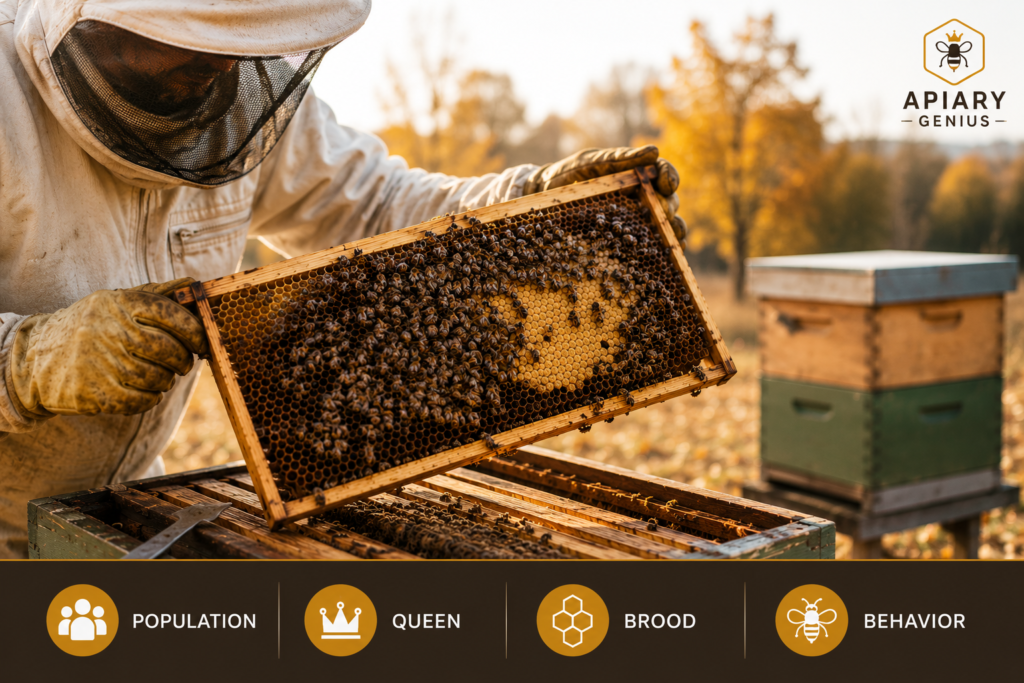
Before you can properly prepare your beehive for winter, you need an honest picture of how strong the colony actually is. Open the hive on a mild day and check for:
Population size.
A strong colony going into winter should cover most or all of the frames in at least one deep box (or the equivalent in your hive configuration). A colony that only covers a few frames is at serious risk and may need to be combined with another hive.
Queen presence and quality.
Look for eggs, larvae, or a visible, actively laying queen. A colony without a laying queen this late in the season is in trouble and usually cannot be saved by requeening at this point — combining it with a queen-right colony is often the better option.
Brood pattern.
A solid, consistent brood pattern indicates a healthy queen. Spotty, inconsistent patterns can signal disease or a failing queen.
General colony behavior.
Calm, purposeful activity is a good sign. Excessive irritability, a strong smell of decay, or visible signs of disease warrant closer investigation before you commit resources to winterizing that hive.
If you have a weak colony, this is the moment to make hard decisions. Combining two weak colonies into one strong one — using the well-known newspaper method to merge them gradually — almost always produces better winter survival odds than trying to carry two weak colonies through independently.
Step 2: Treat for Mites Before You Prepare the Hive for Winter
Varroa mites are, by a wide margin, the leading cause of winter colony losses worldwide. Mites don’t just weaken bees directly — they transmit viruses, including Deformed Wing Virus (DWV), that shorten the lifespan of your winter bees specifically, undermining the very population the colony depends on to survive the cold months.
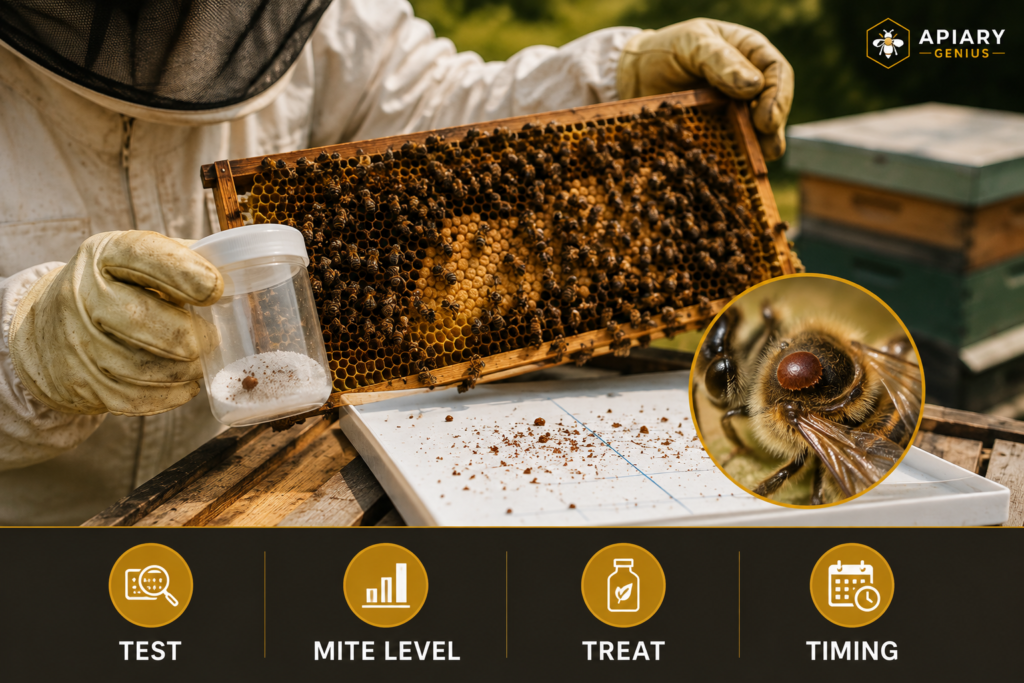
Any mite treatment needs to happen before your winter bees are reared, not after. Treating late means the damage to that critical generation has already been done. Test your mite levels using a sugar roll or alcohol wash, and treat according to the thresholds recommended by your local beekeeping extension service if levels are too high. This single step, done at the right time, has an outsized impact on whether your effort to prepare your beehive for winter actually succeeds.
Step 3: Ensure Adequate Winter Stores
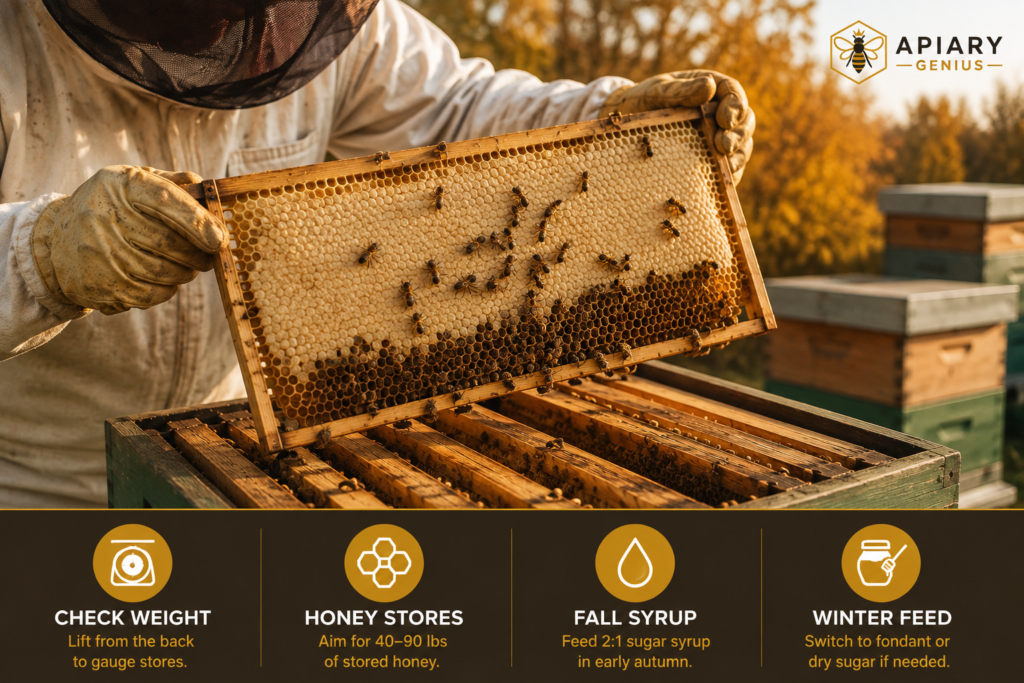
A colony needs a substantial reserve of honey (and often pollen or a pollen substitute) to survive winter, and the exact amount depends heavily on your climate and the length of your winter. In many temperate regions, beekeepers aim for somewhere in the range of 40 to 90 pounds of stored honey per colony — colder, longer winters demand more.
How to check stores:
Heft the hive from the back to get a rough sense of weight, or better yet, do a frame-by-frame inspection and estimate how many frames are substantially filled with capped honey. Don’t rely on guesswork if you can avoid it; underestimating stores is one of the most common and costly mistakes beekeepers make when they prepare their beehive for winter.
If stores are insufficient:
Feed a heavy sugar syrup (typically a 2:1 ratio of sugar to water) in early autumn while temperatures are still warm enough for bees to process and store it efficiently. As temperatures drop further, switch to fondant or dry sugar, since bees struggle to process thin syrup in cold weather and excess liquid feed can actually increase moisture problems inside the hive. Never assume a colony will “figure it out” — insufficient stores is a leading, entirely preventable cause of winter starvation.
Step 4: Configure the Hive Itself
Physically preparing the hive is just as important as preparing the bees inside it. Several adjustments matter here:
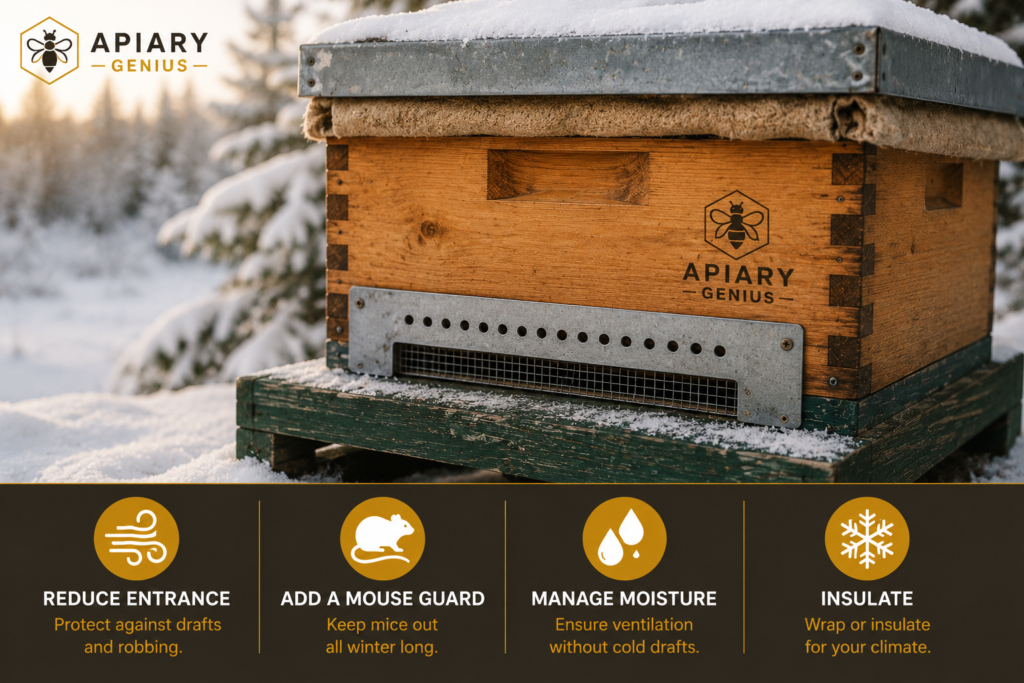
Reduce the Entrance
A smaller entrance is easier for a reduced winter population to defend against robbing bees, mice, and cold drafts. Most beekeepers install an entrance reducer or mouse guard well before the first frost.
Add a Mouse Guard
Mice actively seek out beehives as warm winter shelter, and a colony that’s clustered and inactive can’t defend against an intruder the way it would in summer. A simple wire mouse guard over the entrance prevents this without restricting bee traffic.
Manage Moisture — Arguably the Most Critical Step
Cold doesn’t kill most winter colonies directly — moisture does. As the cluster generates heat, warm moist air rises and can condense on the cold inner cover above, dripping back down onto the cluster. Wet, cold bees die far more easily than dry, cold bees.
To prevent this when you prepare your beehive for winter:
- Ensure adequate upper ventilation, whether through a notched inner cover, an upper entrance, or a moisture quilt box filled with an absorbent material like wood shavings.
- Tilt the hive very slightly forward so any condensation that does form runs out the front entrance rather than pooling on the bottom board.
- Avoid wrapping hives so tightly that ventilation is completely blocked — insulation and ventilation need to work together, not against each other.
Consider Windbreaks and Insulation
In regions with harsh, windy winters, a windbreak (whether natural, like a hedge or fence, or a simple insulating wrap) can meaningfully reduce how hard the cluster has to work to stay warm. This isn’t strictly necessary everywhere, but in exposed or particularly cold locations it can make a real difference to colony survival.
Step 5: Protect Against Pests Beyond Mites
While varroa mites deserve most of the attention, a few other pests become relevant specifically when you prepare a beehive for winter:
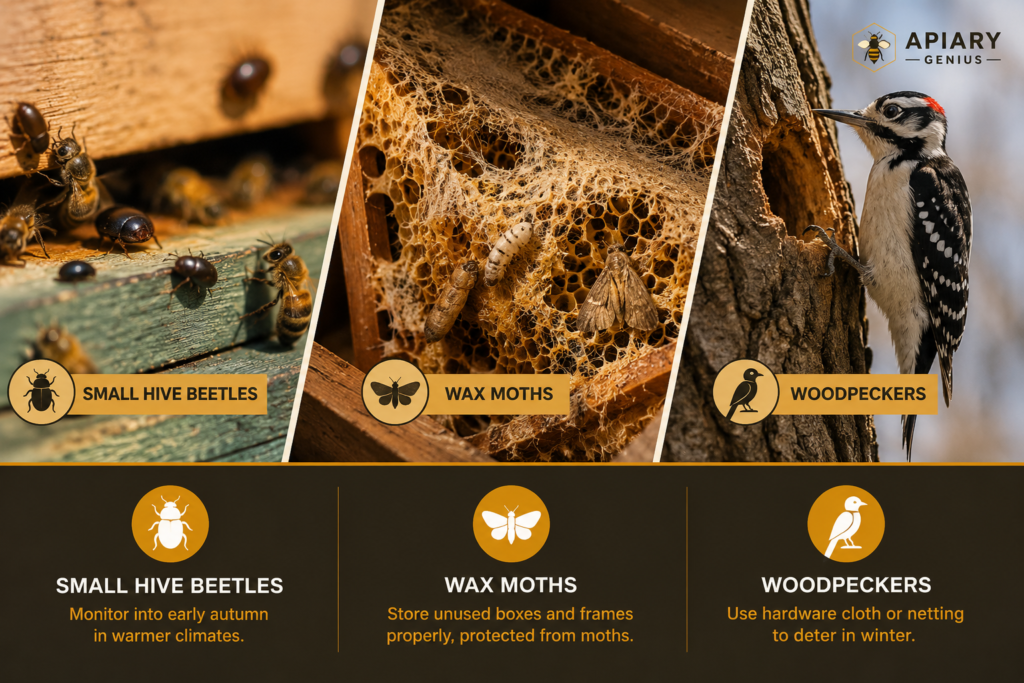
- Small hive beetles can still be active into early autumn in warmer climates; keep monitoring until temperatures consistently drop.
- Wax moths are less of a threat to a strong, active colony but can quickly destroy stored equipment. Any boxes or frames you’re not using over winter should be stored properly, protected from moth infestation.
- Woodpeckers, in some regions, target hives in winter seeking the insulated warmth and the bees themselves. A simple wrap of hardware cloth or netting can deter this if it’s a known issue in your area.
Regional Considerations
How you prepare your beehive for winter shifts significantly depending on your climate.
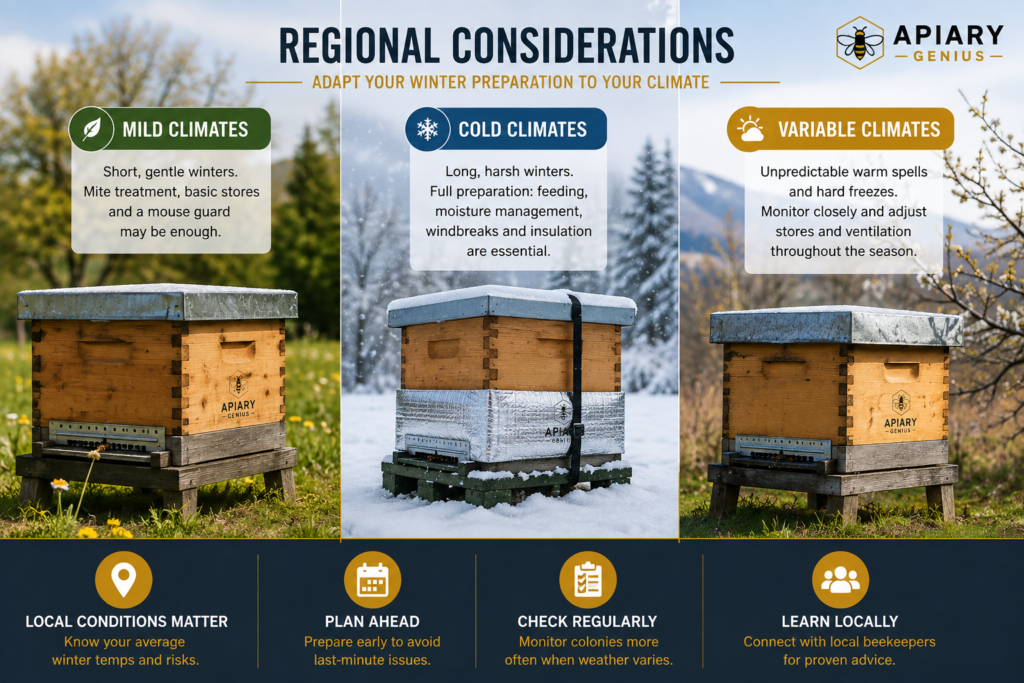
Mild climates with short, gentle winters may need only modest preparation — mite treatment, a basic stores check, and a mouse guard may be sufficient. Bees may even be able to forage on occasional warm days throughout the season.
Cold climates with long, harsh winters require the full range of preparation: heavier feeding, more aggressive moisture management, windbreaks or insulation, and careful attention to colony strength going in, since there’s little room for error over a five- or six-month winter with minimal opportunities to intervene.
Variable climates, with unpredictable warm spells followed by hard freezes, present their own challenge: bees may break cluster during warm spells and burn through stores faster than expected, only to be caught short when cold returns. Beekeepers in these regions often carry slightly more stores as a buffer and check on hives a bit more frequently when weather allows.
Local beekeeping associations remain one of the best resources for understanding exactly how to prepare a beehive for winter in your specific region, since even beekeepers within the same general climate zone can face meaningfully different local conditions.
What Winter Monitoring Should (and Shouldn’t) Look Like
Once you’ve finished the work to prepare your beehive for winter, resist the urge to open the hive frequently to check on things. Every time you break the seal on a winter hive, you release built-up heat that the cluster then has to work hard to replace — and in cold weather, this can do real harm.
Instead:
- Heft the hive periodically from the back to get a rough sense of remaining stores, without fully opening it.
- Watch the entrance on mild days for signs of activity, such as bees taking cleansing flights.
- Listen or use a stethoscope against the hive body on very cold days if you’re concerned — a healthy cluster will produce an audible hum when gently tapped.
- Clear dead bees from the entrance if they’re blocking airflow, without disturbing the cluster itself.
Full inspections should generally wait until temperatures are reliably warm enough for sustained bee flight in spring.
Common Mistakes When Preparing a Hive for Winter
Even experienced beekeepers fall into a few recurring traps:
- Waiting too long to treat for mites. By the time winter bees are being reared, it’s often too late to undo the damage.
- Underestimating stores. “It looks like enough” is not a substitute for an actual assessment.
- Over-insulating without ventilation. Trapping moisture is often worse than the cold itself.
- Leaving entrances too wide open. This invites robbing, drafts, and pests into a colony that can’t fully defend itself.
- Combining colonies too late. Weak colonies need to be merged while there’s still time for the combined colony to stabilize before真 the real cold arrives.
- Opening the hive too often in winter. Curiosity is understandable, but each inspection costs the cluster valuable heat.
Frequently Asked Questions
How do I know if my colony is strong enough to survive winter without help?
As a general guide, a colony that covers most of the frames in at least one deep box, has a visibly laying queen, and has substantial capped honey stores is in reasonable shape. If any of these are clearly lacking, it’s worth taking action — whether that’s additional feeding, combining with another colony, or consulting a local mentor — well before cold weather sets in.
Is it better to wrap my hive for insulation?
It depends heavily on your climate. In regions with harsh, windy winters, insulation or wind wrapping can help. In milder climates, it’s often unnecessary and can even trap excess moisture if not done carefully. When in doubt, prioritize ventilation and moisture control over insulation alone.
Can I still feed my bees once it’s cold outside?
Liquid syrup becomes less effective in cold weather because bees struggle to process it and it can add unwanted moisture to the hive. Solid options like fondant or dry sugar are generally better choices for late-season or emergency winter feeding.
Should I combine two weak colonies before winter?
In most cases, yes. Two weak colonies rarely both survive winter independently, while combining them into one adequately sized colony significantly improves the odds that at least one strong colony makes it through to spring.
What’s the single most important thing I can do to prepare my beehive for winter?
If you can only prioritize a few things, focus on mite treatment timed correctly, an honest assessment of stores with supplemental feeding if needed, and proper moisture management inside the hive. These three factors address the overwhelming majority of preventable winter losses.
For more on colony health throughout the year, see our guide on how to control varroa mites naturally. For additional regional guidance, the Pennsylvania State University Extension’s beekeeping resources are also a helpful reference.
Final Thoughts
Learning how to prepare your beehive for winter is ultimately about stacking the odds in your colony’s favor across several fronts at once — enough bees, enough food, enough dryness, and enough protection from pests and predators. None of these steps is complicated on its own, but skipping any one of them can undo the benefit of getting the others right.
Start early, assess honestly, treat for mites on time, feed generously if stores are short, and manage moisture carefully. Do this consistently, and you’ll give your colony a genuinely strong chance of walking out of winter exactly as healthy as it walked in.
Happy beekeeping!